
Well we have officially hit some setbacks, and we are not moving for another few weeks. So now that we are pretty much all packed up and waiting I am going a little crazy. To alleviate the boredom and not think about how much I just want to be in house already, I did a few crafts this week (sitting among tons of boxes on the floor:) I made this little romper for just the cost of the lace.

Materials:
- A onsie
`
- lace- about 7 yards... mine already had a facing around the edges, which was really nice for gluing. If you are going to sew it though, you might want something else, maybe with elastic, as mine did not stretch.

- ribbon for facing

- 2 buttons
- hot glue / glue gun
- needle and thread to match lace color
Steps:
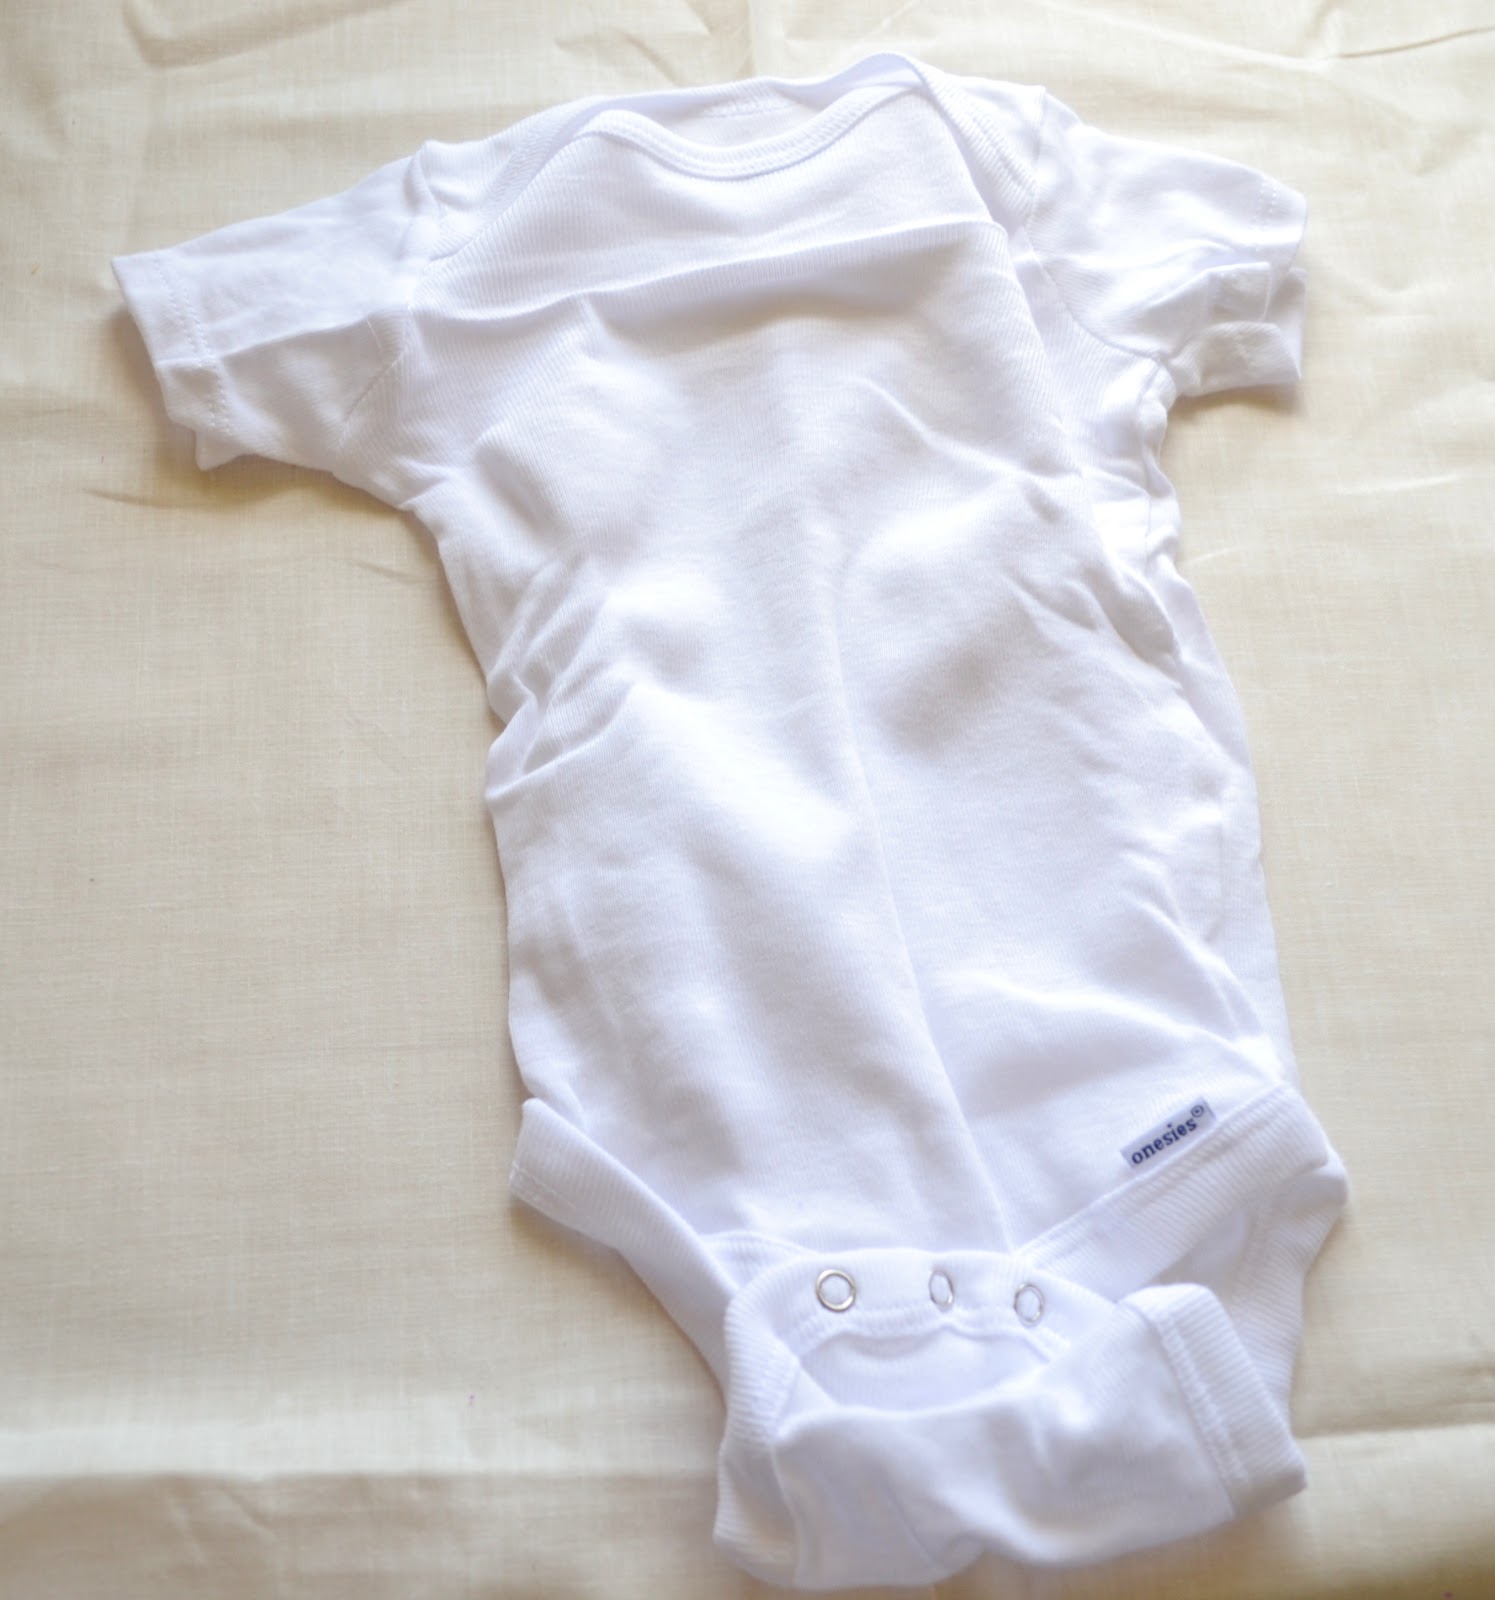
1. Start with a plain onsie. Any color will do, I just had a white one on hand.
2.) cut off the top, cutting the sleeve in half. I ended up going halfway in the sleeve just so it wasn't too short later...

3.) Cut off the sleeves, going in a diagonal going in towards the center on the onsie. This is going to be the new armpit holes after you add straps later.

4.) wrap it around something that is about the same size around as your baby. YOU HAVE TO DO THIS. I know that it is much easier to just lay flat to glue, but gluing on the lace prevents it from stretching after, and it will not fit your baby. I used this oatmeal can because it had about the same measurements as my babe...;) I added a piece of thicker sweater material and rubber banded it on to get it even closer to her circumference... Glad I did, because after I was done with the romper it was kinda hard to get on after... it wouldn't have fit if it was any smaller...


 |
| side view of it on the oatmeal can... kinda lumpy but oh well... |
5.) start in the back of the onsie, and glue it on in circles, cutting again when you end where you started each piece. Do this all the way up the onsie. Leave the flap alone at the bottom of the onsie unless you want ruffles in between the legs haha... I just started gluing at the same height as the sides above the flap. I left about 1/2 an inch in between each layer of lace, because it would hang down and cover the void.

6.) I did it all the way to the top until I couldn't go in circles anymore ( armpit level), and then I just cut shorter pieces and glued them individually up the front and back where it comes up higher than the armpit area.

 |
| all done with the lace... kinda stiff, it stands by itself;) this is a side view |

8.)Here is what the finished edge looks like on back and
I forgot to take pictures of these next steps so sorry for repeat pics.
I sewed on two buttons one on each side... over the facing.

9.) I took the last two small pieces of lace that I had to make the shoulder straps. I hand sewed them onto the front of the romper over the facing, and then added a loop to each end to go around the buttons on the back. I did it this way instead of sewing them right to the back for ease of getting it on her. Since it was not stretchy, it was a little tight for the arm holes, so this way I could button it once it was on.

ALL DONE!! I was super duper easy and I did it in about and hour and a half.. It turned out a little big, but I kinda liked how it fell off her shoulder like she was wearing dress up clothes or somethin'.
We added some pearls, a feather headband, props, and took some fun 7 month pictures!


Wanna make that feather headband? I am doing a DIY on all kinds of headbands for you and baby next week! Check it out. If you make a romper post some pictures I would love to see them.
Have a lazy weekend, I know I will. (Well except for the town celebration and street dance this Saturday. You know I am gonna get my groove on, haha. Gotta love small towns.
peace!- Amanda
Link up parties:


this post was featured here:
8 comments:
Way cute. She is gorgeous and your pics are absolutely stunning.
oh thank you Jenn. I just checked out your blog, and fell in love right away. I am not good at cooking, although I think my husband wishes I was. I will have to try some of your recipes. There were quite a few that caught my eye. Thanks for stopping by!
This is an amazing project!!! I love the pictures you've shared and the tutorial is fabulous. Thanks so much for sharing. Megan
OMG I was just about to buy some online but now im going to try to make my own :)
Thank you so much for this tutorial! I can't wait to make one for each of my twins for their 1st birthday!
Love your blog! Since Nora is only three months I cut a stretchy headband and sewed it on the top to keep it on her better. Thanks for sharing!!
I think that my daughter would look adorable in this. My wife loves making her new clothes! This is a great idea! I know that my wife is going to want to make this now.
http://www.bemauvelous.com/jumpsuits-rompers/
I love how creative she is with her DIY projects.
Post a Comment